CS194 Project 4: Seam Carving

Rohan Chitnis

Background

(Skip to bells and whistles section.)

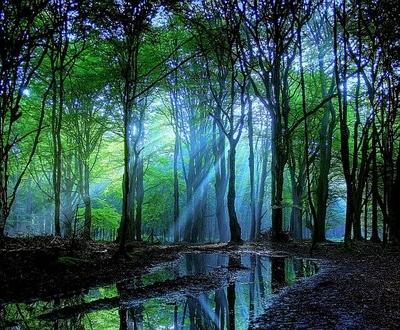
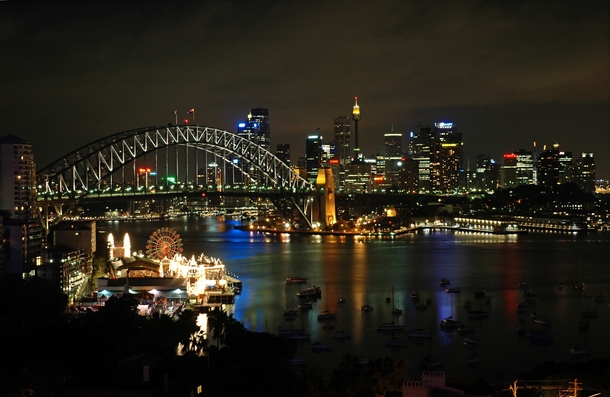
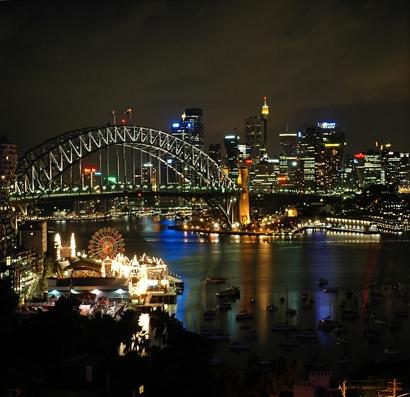
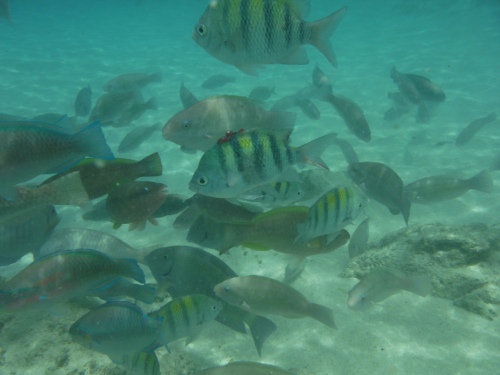
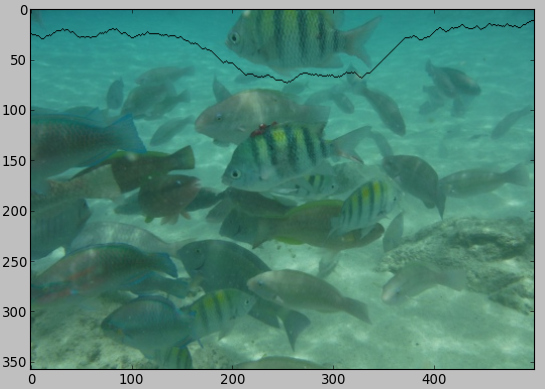
The purpose of this project was to use seam carving for content-aware image resizing. It is based on this paper. The idea is to compute an optimal seam along which to remove pixels of the image. By defining an energy function at each pixel, we can find an 8-connected path either vertically or horizontally through the image with minimum total energy using a simple dynamic programming algorithm. The following illustrations, excluding the bells and whistles section about different energy functions, all use the L2 norm of the gradient -- sqrt((dx)^2 + (dy)^2). I further assume that at the image borders, neighboring pixels are black, for the purposes of gradient computation. In order to do horizontal seams, I simply transpose the image first, calculate vertical seams, and then transpose the image back for displaying and saving purposes, as suggested.

Results

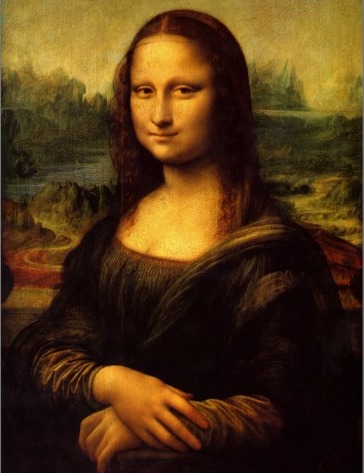
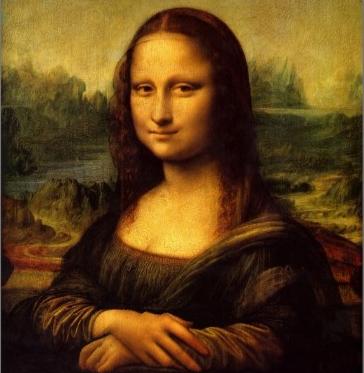
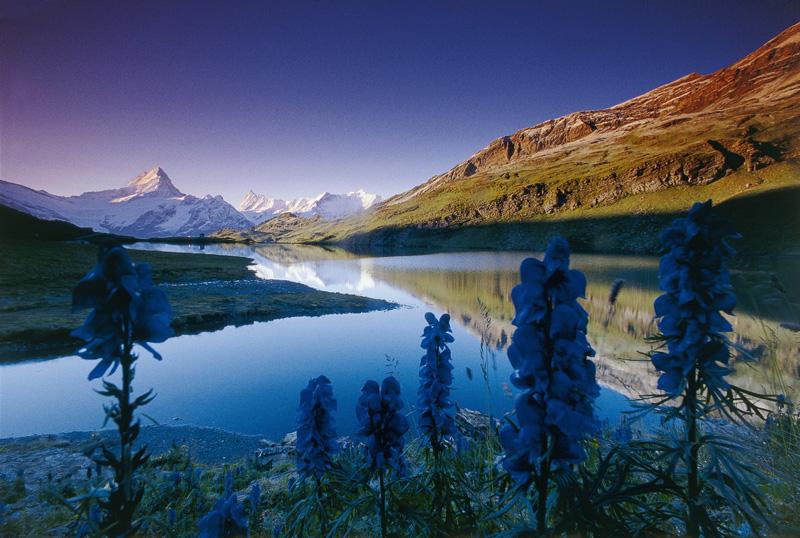
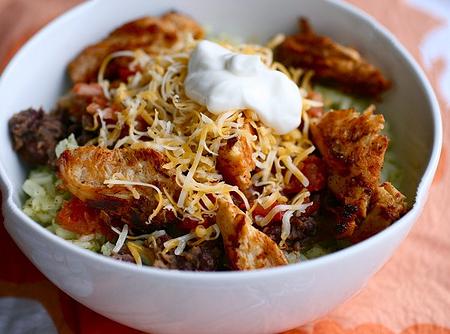
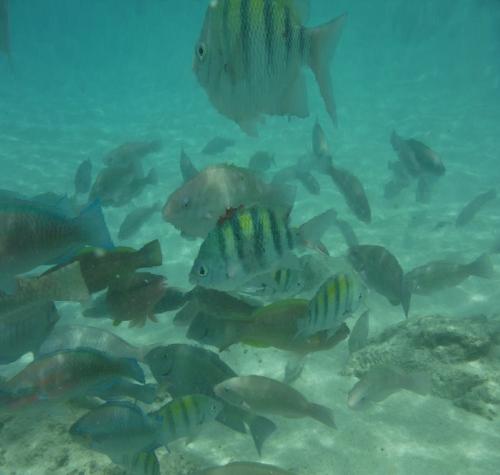
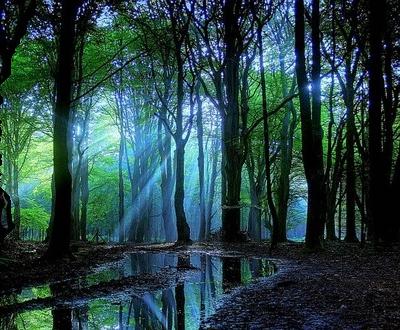
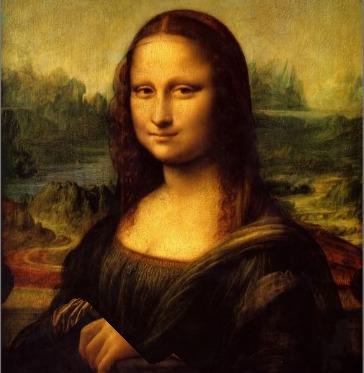
I was able to generate some awesome images! Photo credits are at the bottom of the page.

Vertical Seams

village village
Left: The original image of fish in an aquarium.
Right: The fish shrunk 200 pixels vertically. This is my favorite image that I created, simply because it is outstanding how much compression this image undergoes while remaining believably real! There are no immediately obvious artifacts in the resized image despite being shrunk by large percentage of its original width.

village Video!
Left: The same fish shrunk only 100 pixels vertically, for easier viewing. Again, no obvious artifacts.
Right: Here is a video illustrating my program computing optimal seams and shrinking the image at each iteration.

village village
Left: The original image of a forest.
Right: The forest shrunk 100 pixels vertically. Notice how some of the trees are shrunken in width -- this is because some of the seams go directly through the tree trunks since such a cut provides the lowest total energy (less pixel-to-pixel change vertically).

village village
Left: The original image of a beautiful lit-up city at night.
Right: The city shrunk 200 pixels vertically. Due to the content-aware resizing, all of the main features of this image, such as the bridge and major buildings, have been preserved. However, one minor warping occurs: the tower in the background becomes curved, because there were some seams through it.

Horizontal Seams

village village
Left: The original image of some more fish. However, this picture was taken by me using an underwater camera when I went to the Virgin Islands this summer!
Right: The fish shrunk 200 pixels horizontally. Notice how the fish have slightly shrunk, and they are in general closer together now, because many of the spaces between the fish were computed to be optimal seams, and thus were removed.

village
Screenshot of one iteration of the seam computation. The optimal, lowest-energy seam is the black line.

village village
Left: Mona Lisa. Not much to say here.
Right: Mona Lisa shrunk 100 pixels horizontally. She is a lot shorter now. The horizontal seams were found to be mostly within the space between her chest and arms, so this region has disappeared!

village
The original image of something nature-related.

village
Nature shrunk 200 pixels horizontally. Although the mountain on the right has been deformed from its original shape, the main features of the image remain the same, and the image still looks like it could be real, because the mountain still looks very realistic.

Failed Examples

village village
Left: The original image of a temple.
Right: Clearly, this example of shrinking 100 pixels horizontally didn't work. The reasoning is that we, as humans looking at the picture, recognize that the pathway is less important to the picture than the top of the temple, but there is a lot more energy in horizontal seams across the pathway than at the top of the temple, where there is mostly sky. Ideally, we would like the seams to go through the pathway near the bottom instead of cutting off the temple. Perhaps a better energy function could fix this, or some more advanced imaging techniques to determine that the temple is the main focus of the image, but the naive algorithm cannot deal with examples like this.

village village
Left: The original image of a burrito bowl.
Right: The bowl, shrunk 50 pixels horizontally, has been massively deformed. This occurs because it is very difficult for our algorithm to preserve round, circular shapes, since taking out even some rows of pixels from this object can lead to completely destroying its circular nature, as happened here.

village
The bowl, shrunk 50 pixels horizontally THEN 50 pixels vertically, demonstrates another failed example for the same reason as before, illustrating the rotational symmetry in this image and the fact that resizing in one orientation then the other does not produce the same effect as simple rescaling.

Bells and Whistles

1. Make It Fast

I made my program run faster by storing the optimal seam at each image size into JSON files, so that the next time one would like to resize the image, these seams can be read instead of being recomputed by dynamic programming.

2. Seam Insertion

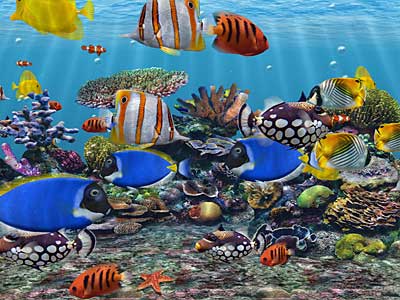
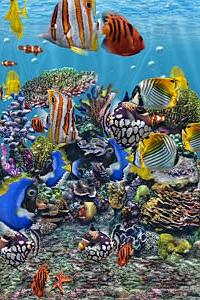
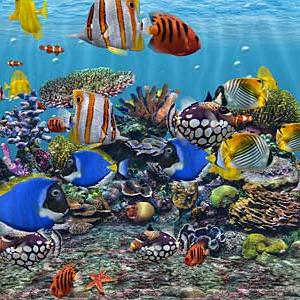
I also tried my hand at seam insertion, and the results were very successful! I employed a simple algorithm: supposing we want to insert n rows/columns, compute n vertical seams as if they were being removed, then for each pixel in each seam, shift over the row, starting there, to the right and insert at that position the average value of the neighboring pixels. Here are some results.

village village
Left: Mona Lisa.
Right: Mona Lisa enlarged by 100 pixels horizontally. Basic employment of the algorithm described above. Now we have the ability to set Mona Lisa at whatever height we want!

village village
Left: The image of the fish from earlier, taken by my underwater camera.
Right: Fish enlarged by 100 pixels horizontally. Again, just employed the algorithm described above with no variations. This time, the fish have been enlarged/stretched out horizontally.

3. Different Energy Functions

I implemented and tested three different energy functions for this project: L1 norm of the gradient, L2 norm of the gradient, and entropy (built into the image processing library I used). The L1 norm and L2 norm yielded nearly identical results, whereas the entropy function yielded slightly different results for certain images. In image processing, entropy measures the amount of information coded in an image -- an image with high entropy cannot be compressed as much as one with low entropy, because it contains fewer runs of same-valued pixels. Here are some results and analysis.

village village
Left: The forest from earlier.
Right: The entropy energy function used to shrink the forest vertically by 100 pixels. Notice that this yields better results than the technique using the L2 norm presented earlier, which shrunk the width of the trees to the point where they seemed slightly unnatural. This is because the lowest energy seams using a measure of entropy no longer go through the tree trunks, since entropy measurement is based on the probability of the difference of two adjacent pictures being a certain value, which is estimated from qualities of the entire image, not just vertical gradients.

village village
Left: Mona Lisa again.
Right: The entropy energy function used to shrink Mona Lisa horizontally by 100 pixels. However this is an example of a failure, because her hand got cut off and looks very unnatural. In this case, such deformity occurs because the lowest energy seams cut through her hands, whereas this problem is avoided by using the L2 norm of the gradient for the energy function.

The most important thing that I learned from this project was definitely that difficult-looking and very cool image processing techniques are not far beyond my grasp without any starter code! I remember when I first watched the video in lecture, I was dazzled and imagined that the implementation of such a resizing algorithm would require thousands of lines of programming and a complex energy function derived from arcane mathematical principles. However, with just a few lines of code and a basic L2-norm gradient function, I was able to generate the same behavior, which is very inspiring!

Photo Credits: All images were obtained from Google Images search, except for one of the fish images which I took myself.