
The purpose of this project was to experiment with different techniques for blending and combining images using low pass and high pass filters, to learn about the power of using the frequency domain in image processing. Furthermore, we learned how to use Gaussian and Laplacian stacks to represent an image with varying degrees of filtering.
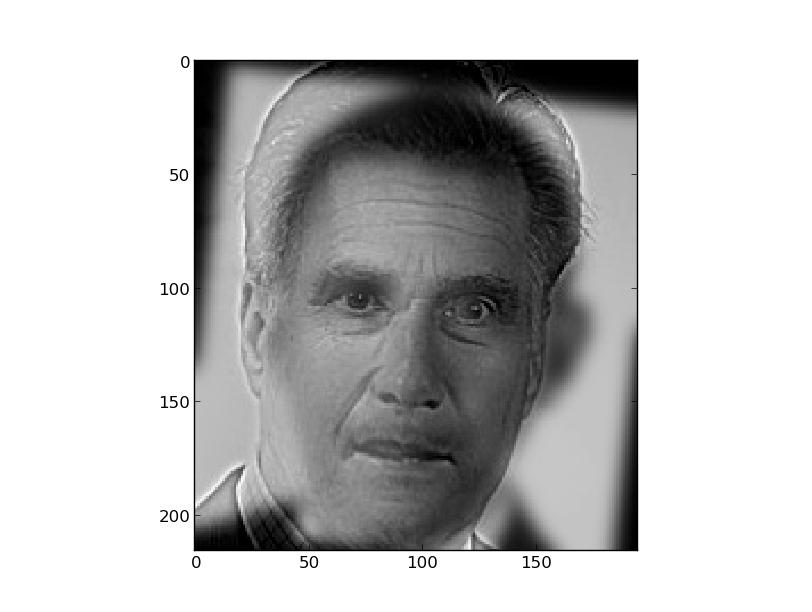
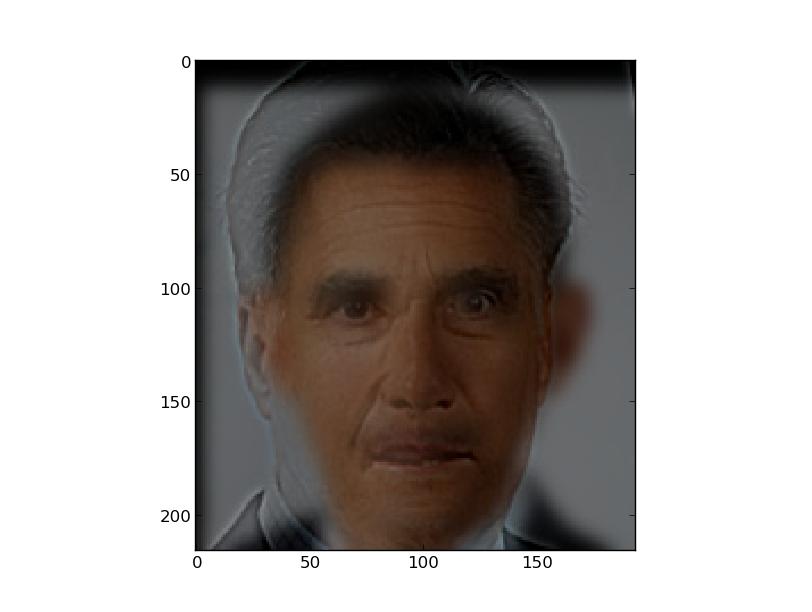
For this part, I first Gaussian filtered the image with sigma = 2. I then added the original image plus 0.7 times the difference between the original and filtered images, to obtain the final result. Since the difference between the original and low pass (Gaussian) filtered images basically creates a high pass filter, this serves to accentuate the edges of the image, sharpening it. I then attempted to get color working for this. In order to do that, I had to first convert the RGB image to HSV, then sharpen only the value component of the HSV image, then convert back to RGB. To accentuate my results, I first blurred the original image slightly, then ran my unsharp masking on that, to create a bigger difference between the two images.

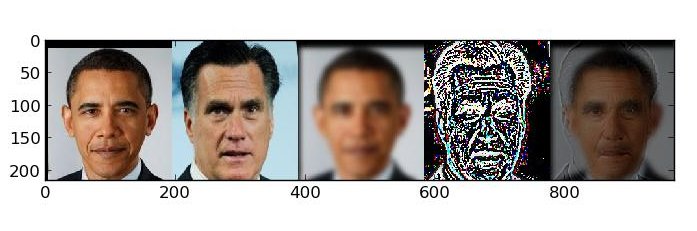
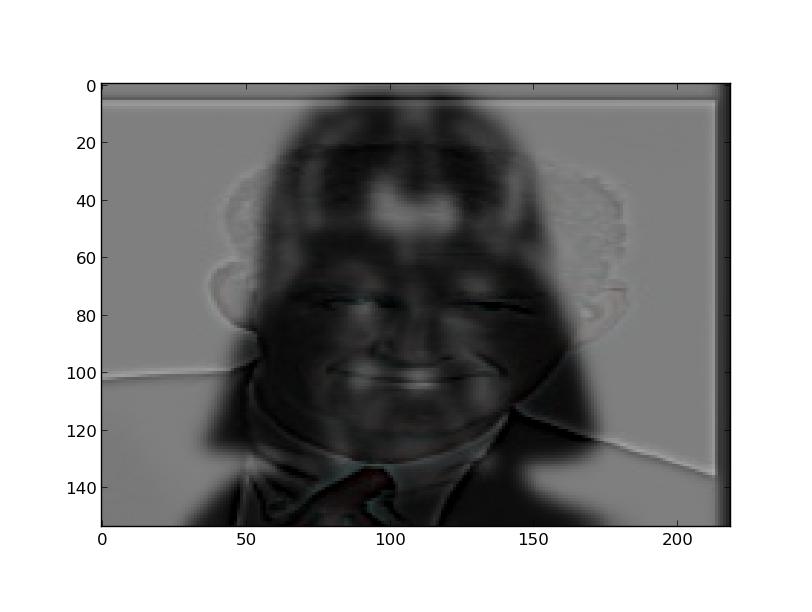
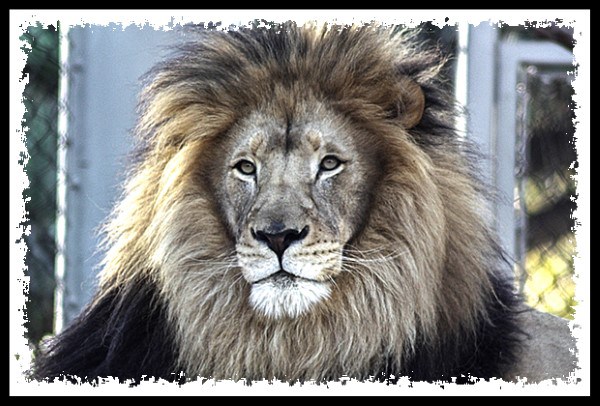
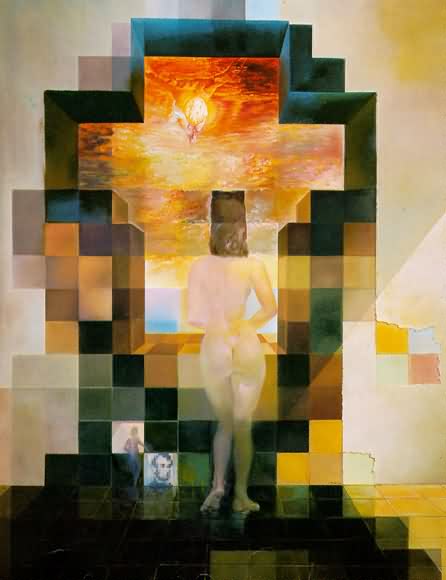
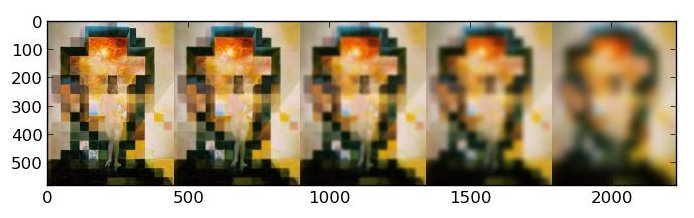
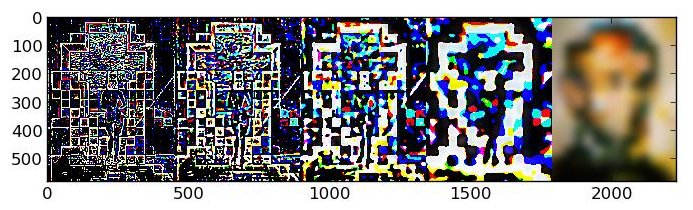
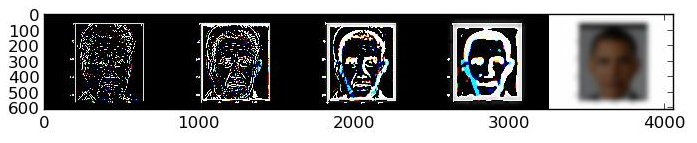
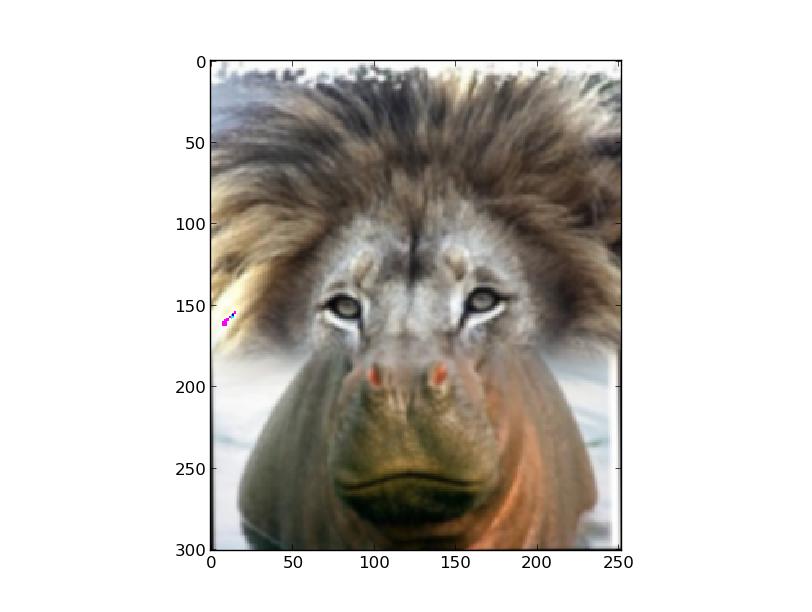
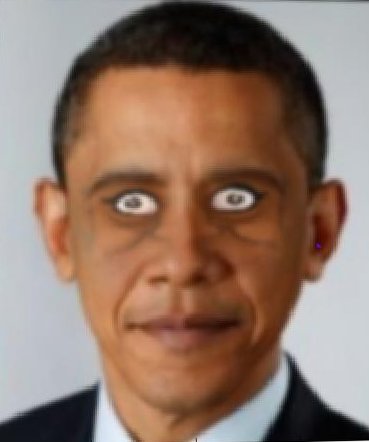
For this part, I created hybrid images as follows. I Gaussian filtered image 1 with a particular sigma to obtain a low passed image 1, then subtracted a Gaussian filtered image 2 from image 2 to obtain a high passed image 2. I then added 0.5 times the low passed image 1 and 0.5 times the high passed image 2 to obtain my final image, then clipped pixel values greater than 1 to 1 and less than 0 to 0 to remove strange color artifacts. Values for sigma for each Gaussian filter are in the caption below the pictures. For alignment, I used the align_images.py script graciously provided by Vedant Kumar on Piazza.
I also implemented color images, and I found that this works significantly better for low pass images. This is because generally, color is captured at low frequencies since color doesn't change drastically across an image, but rather only at edges. This is why in the color images, the color is really only seen for the low pass image. I didn't have to do anything special to get color images to work well -- I just didn't convert the RGB images to grayscale, and everything worked.
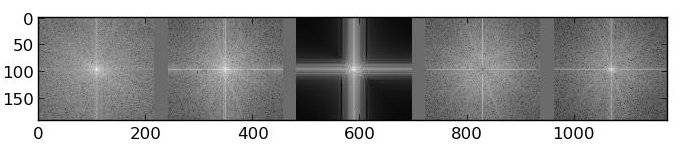
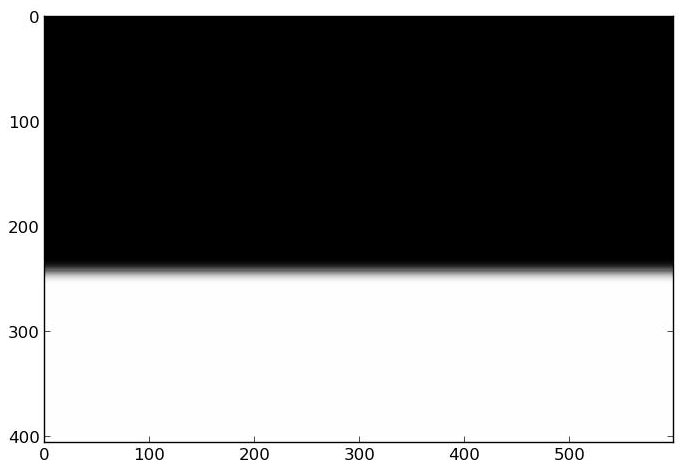
It is interesting to note that for the low pass filtered image, the FT illustration makes it apparent that the lower frequencies dominate this image, whereas the higher frequencies tend to dominate the high pass filtered image, as well as the final image.
This method works because when humans are closer to an image, the higher frequency components dominate our sensory perception, but as we step back, we can only see the lower frequency components as well. Therefore, based on distance to the image, what we see changes if we blend images together in this manner.

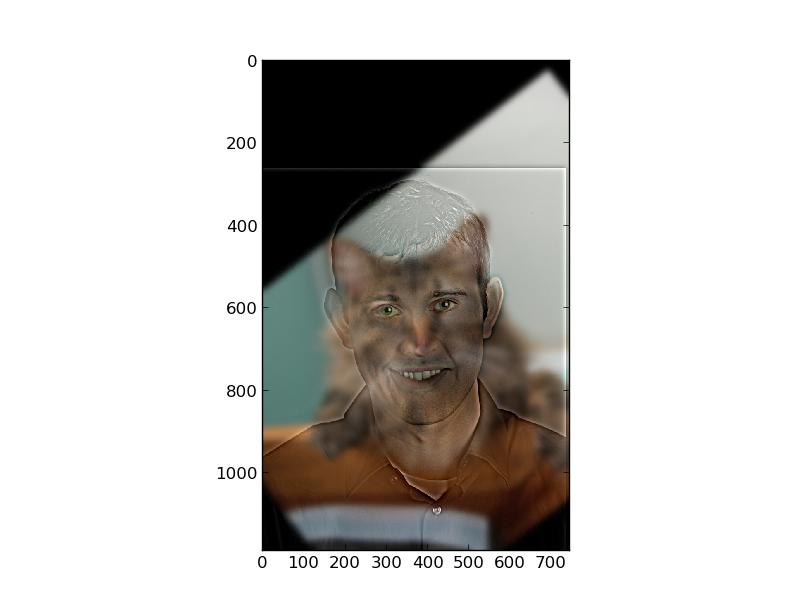
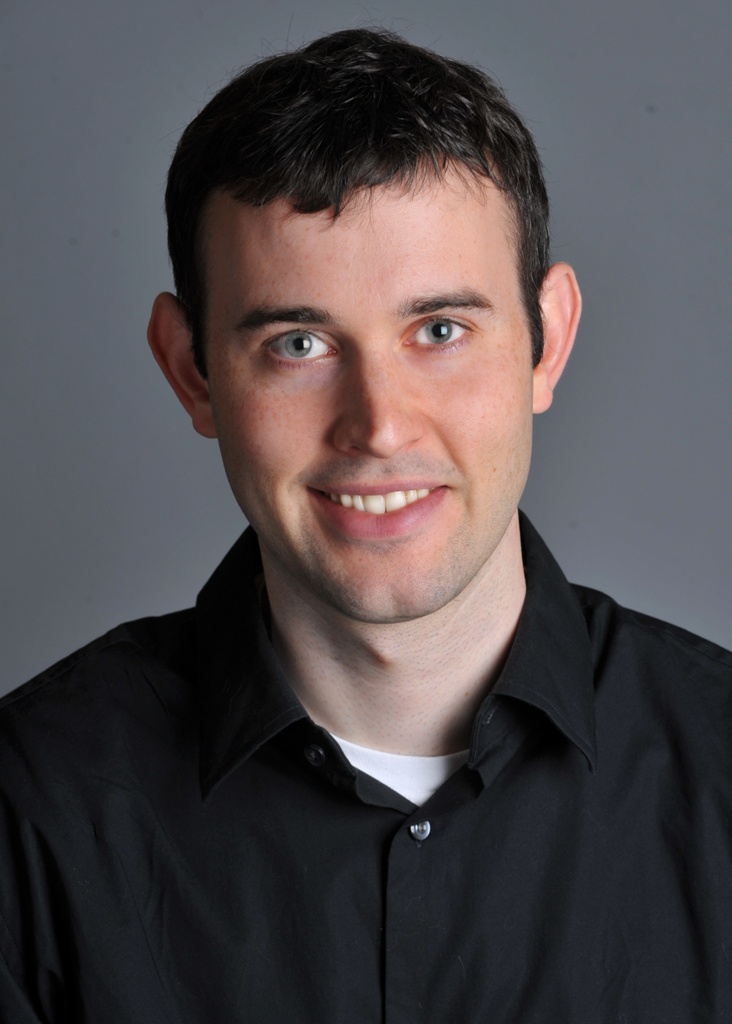
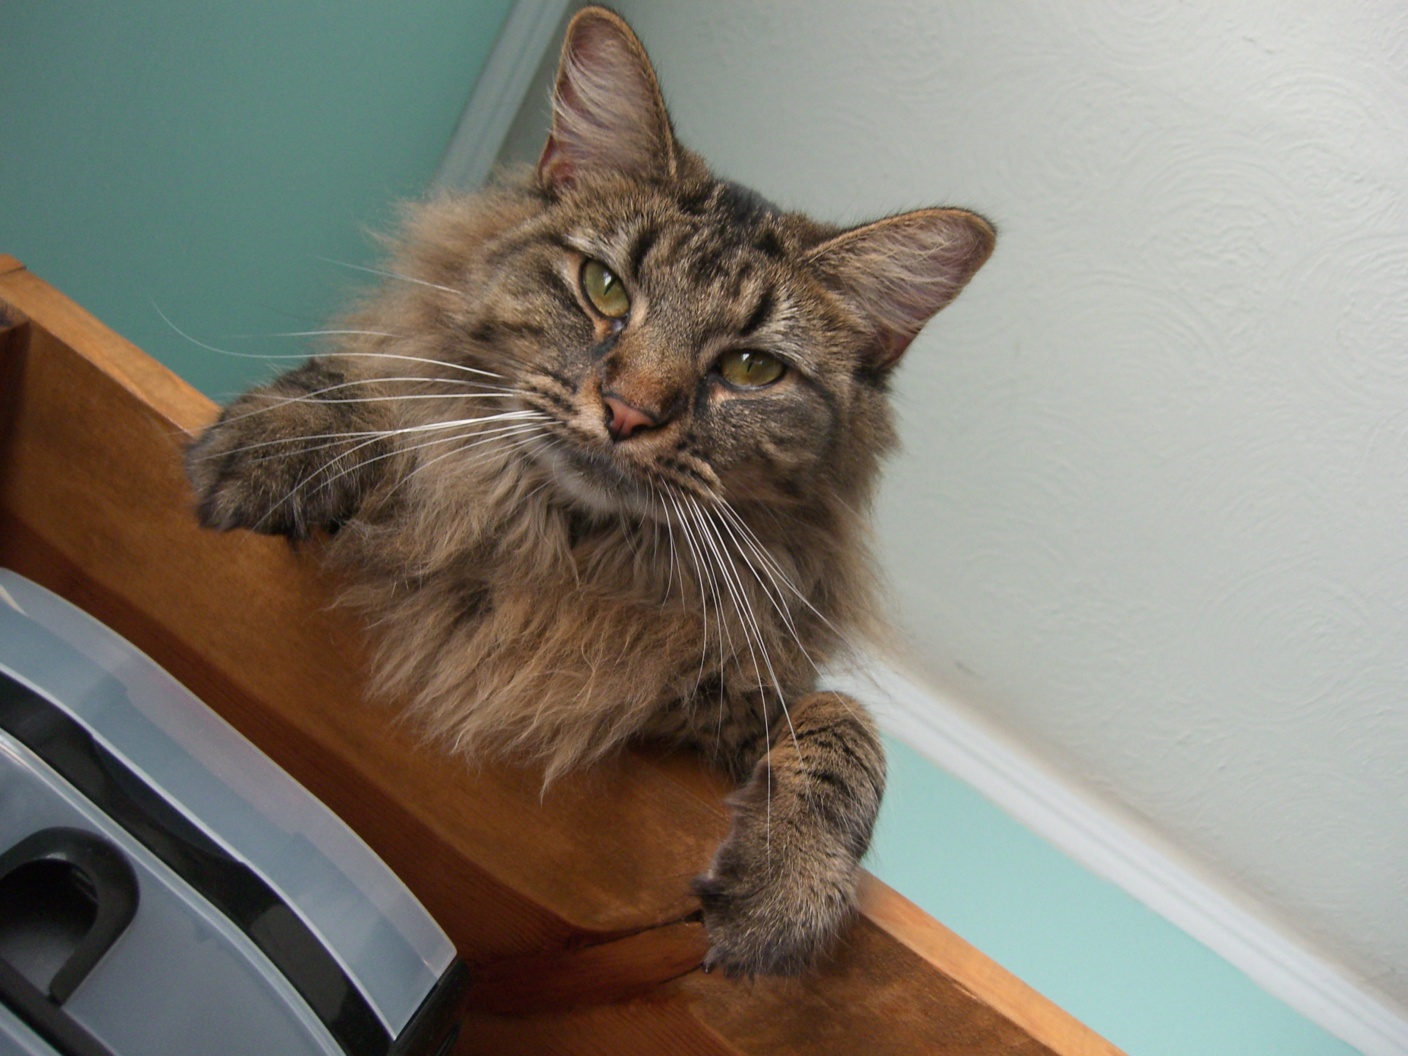
This last one failed because you can easily see the cat even with the enlarged image, where Derek is supposed to dominate because he is the high frequency image. This failure occurred most likely because the shapes/outlines did not match up, as they did in Obama + Romney, so the edges were too obvious in the high passed image. For good hybrid images, it is necessary to align the images so that the blur from the low pass image is within and fills the edges from the high pass image as much as possible, which would make the hybrid image very realistic.
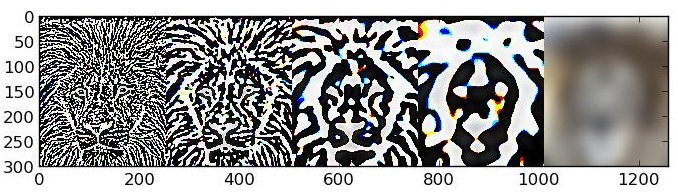
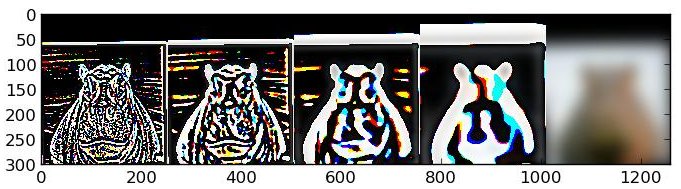
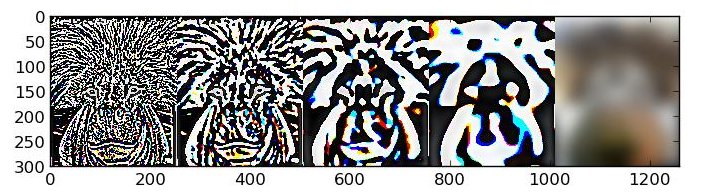
For this part, I implemented Gaussian and Laplacian stacks. I set the stack size to 5 and initial sigma to 1. I then doubled the value of sigma at each level, and Gaussian filtered the image using that sigma value to obtain the Gaussian stack for that level. For the Laplacian stack at level i, I computed the Gaussian stack at level i minus the Gaussian stack at level i+1, adhering to the definition of the Laplacian transform. Finally, for the final level of the Laplacian stack, I simply set this equal to the final level of the Gaussian stack, to completely capture all the lower frequencies within the Laplacian stack. Below are two images along with their Gaussian and Laplacian stacks.

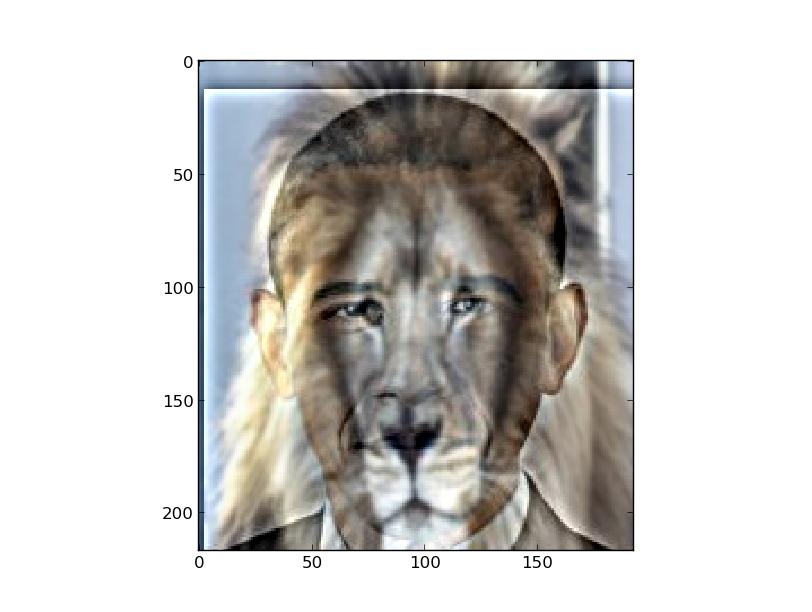
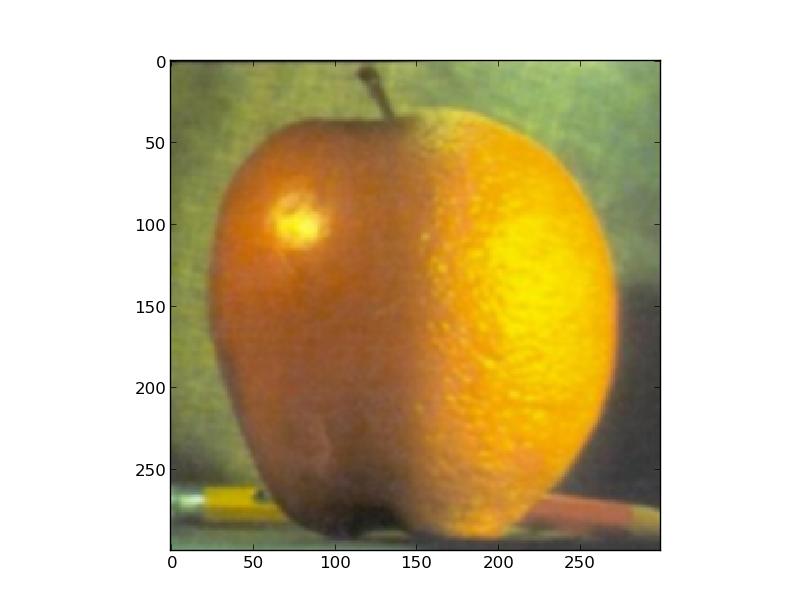
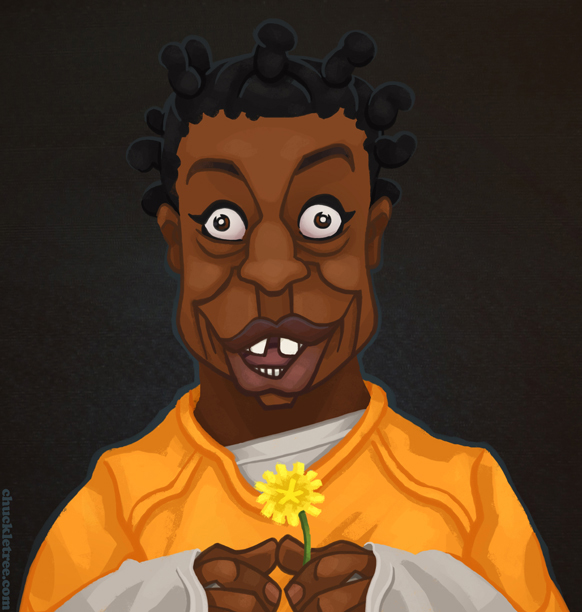
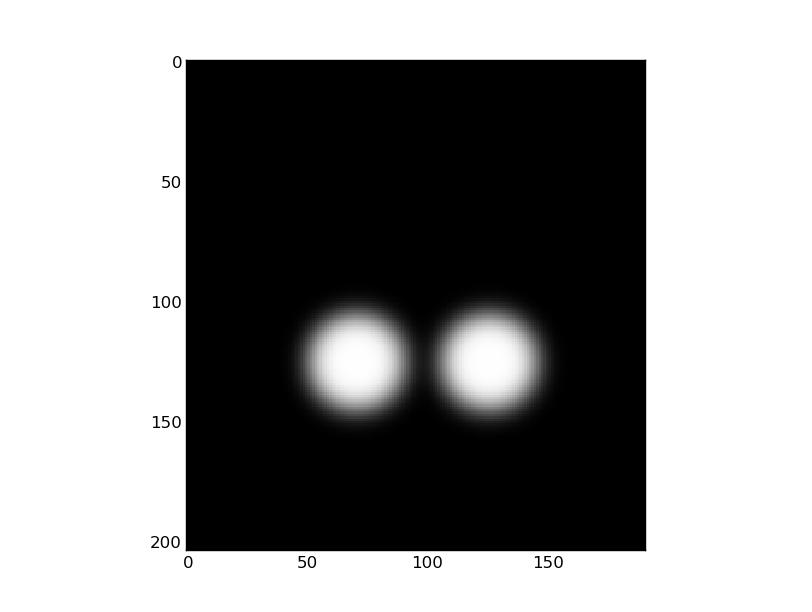
For this part, I used the Gaussian and Laplacian stacks from the previous part to perform multiresolution blending. I did this by setting a mask m which is 1 where I want the first image to be and 0 where I want the second image to be. Then, I compute Laplacian stacks for each input image and a Gaussian stack for the mask, then create a resulting stack as (mask * laplacian1) + ((1 - mask) * (laplacian2)) for each stack level. My final image was created by summing all the images in the resulting stack. One optimization I performed was to blur the mask after I create it, for more blurred (and thus nicer-looking) seams. My parameters for the stacks are exactly the same as from Part 2.
I was able to implement color trivially. All I had to do was not convert the images from RGB to grayscale, then add an extra dimension to the mask, so that its RGB value would be (1, 1, 1) where I want the first image to be and (0, 0, 0) where I want the second image to be. This worked perfectly. Because it was such a minor change, all images I provide here are in color.

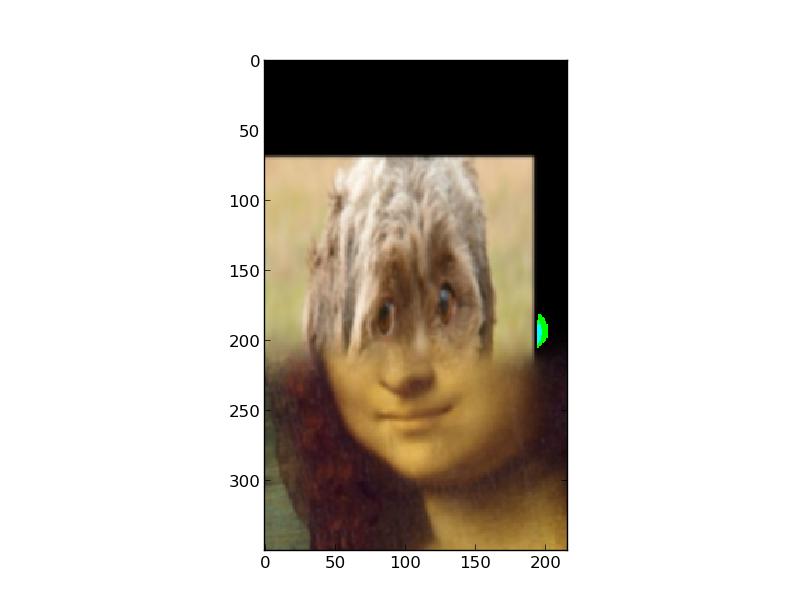

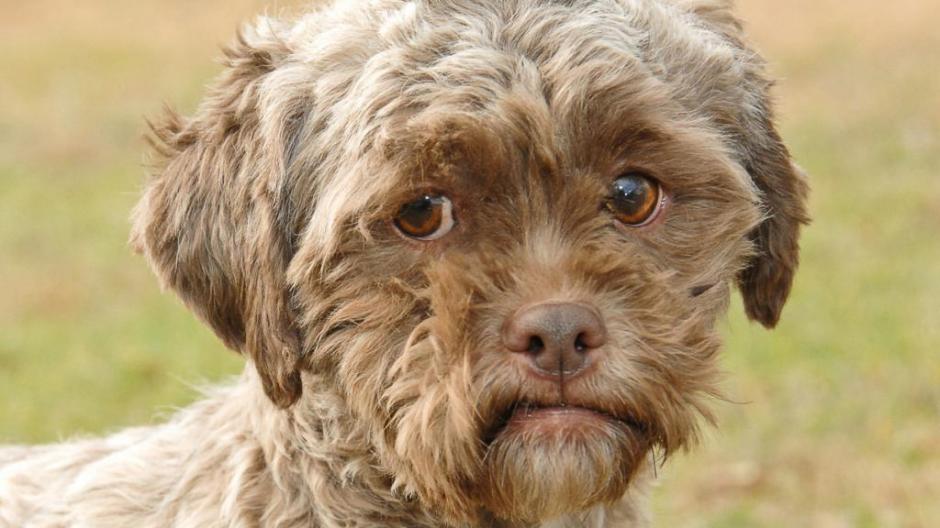
This last one failed because the horizontal seam was very bad. This occurred for many reasons. For one, the backgrounds of the two images does not really match up at the seam. Second, the color differences between Mona Lisa and the dog cause there to be a huge shift in the color of the image, which makes it look unrealistic. Finally, the facial features of the two images do not line up at all, which obviously throws off the alignment.
This method works because of the stacks at its heart. The stacks cause us to be able to work with images at different filtering levels separately (each stack level displays a different frequency band of the original image). This causes the seam to be very smooth, because it is composed of seams for each of the different frequency levels, and is accentuated due to the Gaussian blur of the mask itself. Furthermore, the way we multiply the mask and inverse mask with each Laplacian stack level allows us to determine which image to use for each region of our resulting image.
By far my favorite part of this project was discovering how easy it is (only about 10 lines of code!) to blend images beautifully, once you have a Gaussian and Laplacian stack implementation in place. Furthermore, it's very interesting how only changing the mask is required to blend together two images in a multitude of creative ways!